Understanding Cabinet Refacing
Cabinet refacing is a well-liked project for sprucing up your home. It’s all about swapping out the doors and fronts of drawers on your kitchen cabinets but leaving the main structure, or frames, as they are. This way, you can give your cabinets a fresh face without having to redo the whole kitchen. There are two key ways to reface it: either by sticking new veneers onto what’s already there or by painting over them. Both approaches can make a big difference and help bring an updated vibe to your space with replacement doors.
Key Highlights
- Giving your kitchen cabinets a new look can be easy on the wallet with cabinet refacing, which is a DIY project.
- By swapping out the doors and drawer fronts and either adding new veneers or slapping on some paint, you can change how your cabinets look completely.
- Opting for cabinet refacing instead of full replacement saves both time and money, making it an excellent choice.
- Looking at before-and-after pictures of cabinet refacing projects might spark some ideas by showing off what’s possible with such transformations.
- With just the right materials, tools, and a guide to lead you through each step, tackling a cabinet refacing job is something you can do yourself.
Introduction
Upgrade your kitchen cabinets affordably with cabinet refacing. This DIY project can give your kitchen a fresh look without a hefty price tag. By replacing doors, drawer fronts, and adding new veneers or paint, you can transform your kitchen’s style while keeping costs low.
Cabinet refacing is a cost-effective way to refresh your kitchen. It allows you to customize the look to match your style with options like door styles, colors, and finishes. In this blog, we delve into what cabinet refacing entails, why it’s great for budget-friendly home improvements, provide step-by-step guides, tips, and before-and-after pictures. Ready to learn more about transforming your cabinets? Let’s dive in!
Definition and Benefits of Cabinet Refacing

Cabinet refacing is a smart way to give your kitchen a fresh look without tearing everything out and starting from scratch. By swapping out the doors and fronts of the drawers but keeping the main structure, or cabinet frames, you get to keep what’s still good. This method not only saves money compared to doing a full kitchen remodel, but also takes less time and is a great option for those with small kitchens.
With cabinet refacing, you’re looking at saving quite a bit since it’s more affordable than getting all-new cabinets. It’s especially great for those who want to update their space quickly because it doesn’t take as long as redoing the whole kitchen.
Beyond just being easy on your wallet and schedule, refacing lets you play around with different styles until you find one that feels right for your home. There are lots of options in door styles, colors, and finishes available so that anyone can tailor their kitchen’s appearance according to personal taste. Plus, sprucing up your cabinets this way not only makes them look better but also boosts your home’s value—a win-win if there ever was one.
Comparing Refacing, Replacing, and Painting

When thinking about giving your kitchen cabinets a makeover, you’ve got a few paths to pick from. You can go for cabinet refacing, swapping out the old ones entirely, or just painting them over.
With cabinet refacing, what happens is you swap out the doors and drawer fronts but keep the main structure of your cabinets as they are. It’s pretty wallet-friendly and can make your kitchen feel brand new without having to redo everything.
If you decide on replacing your existing cabinets altogether, it means taking everything out and putting in all-new units. This route costs more money and takes more time but lets you really change up how your kitchen looks.
Then there’s painting the cabinets. Just by adding a new coat of paint to what’s already there – both frames and doors – you can freshen things up while keeping costs down. Keep in mind though; painted surfaces might need more touch-ups down the line.
Choosing between these options—refacing, replacing, or painting—really comes down to how much cash you want to spend, how long you’re willing to wait for it all done, and if customization matters lotsa. Cabinet refacing strikes a nice balance among cost-effectiveness, convenience, and getting that personalized look many homeowners aim for when updating their kitchens.
Planning Your DIY Cabinet Refacing Project

Before you jump into your DIY cabinet refacing adventure, it’s crucial to take some time to plan and get ready. By doing this, you make sure that everything you need is at hand – all the materials and tools – plus, you’ll have a solid grasp of what needs to be done every step of the way. In this part, we’re here to offer some advice and direction so your cabinet refacing project goes off without a hitch. Make sure your current cabinets have a plywood or medium-density fiberboard (MDF) construction before starting your project.
Design Inspiration: Before and After Gallery


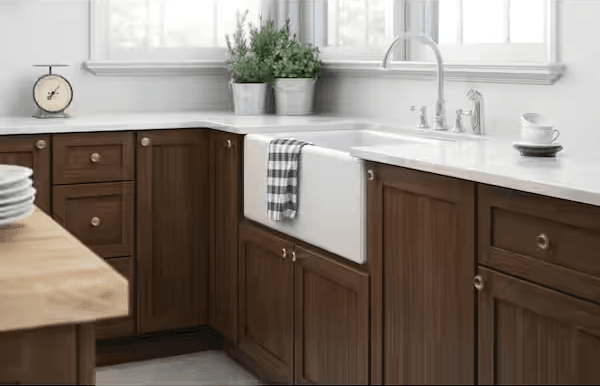
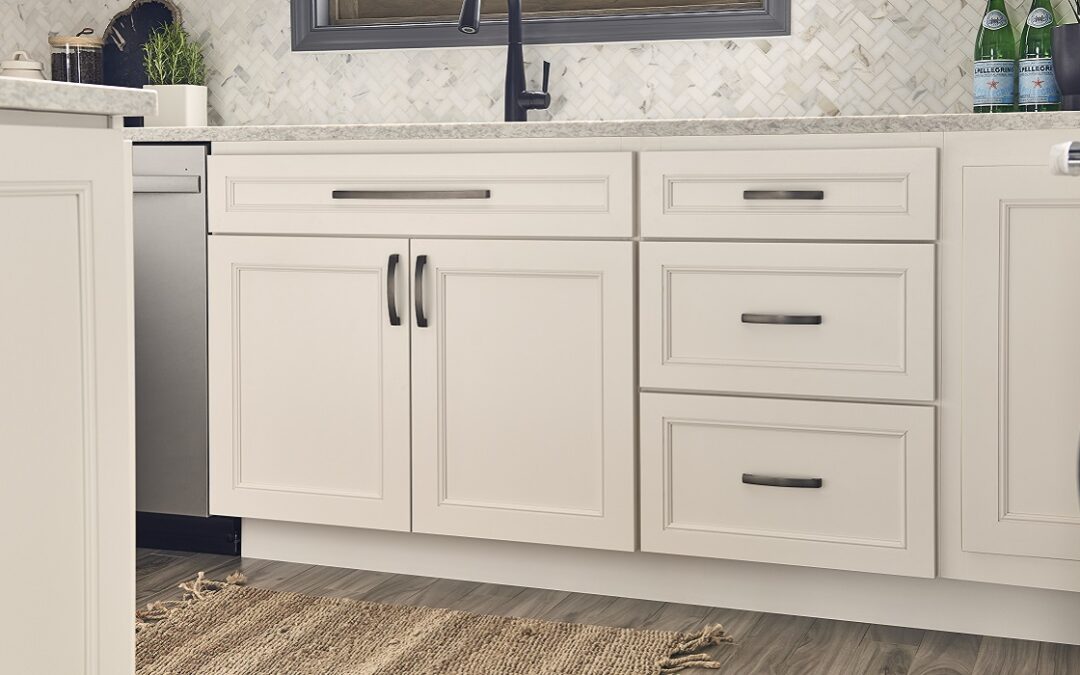
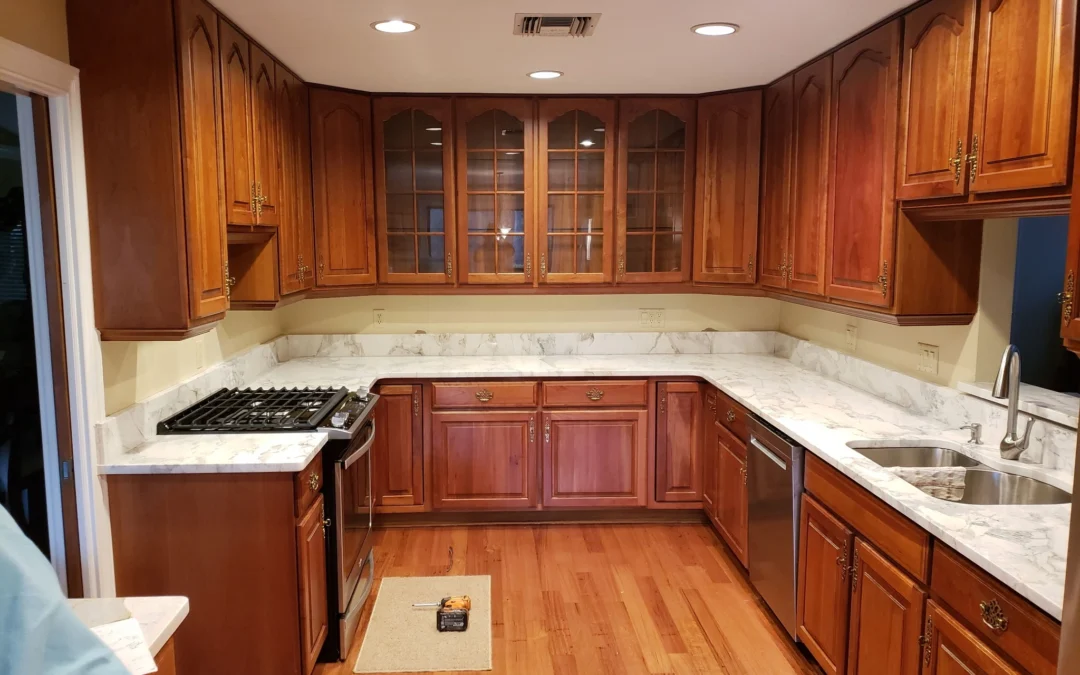
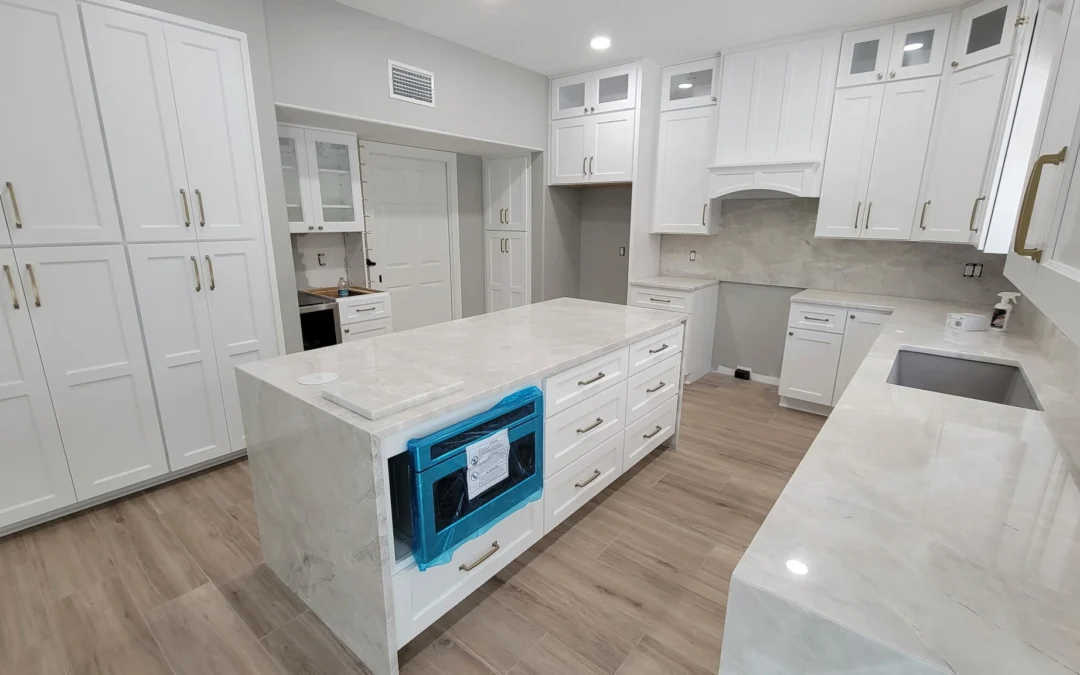
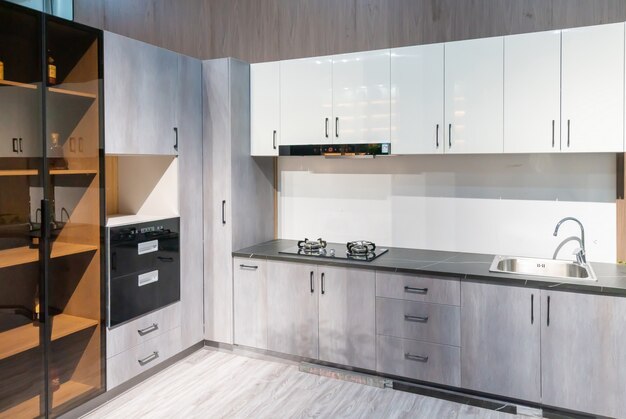
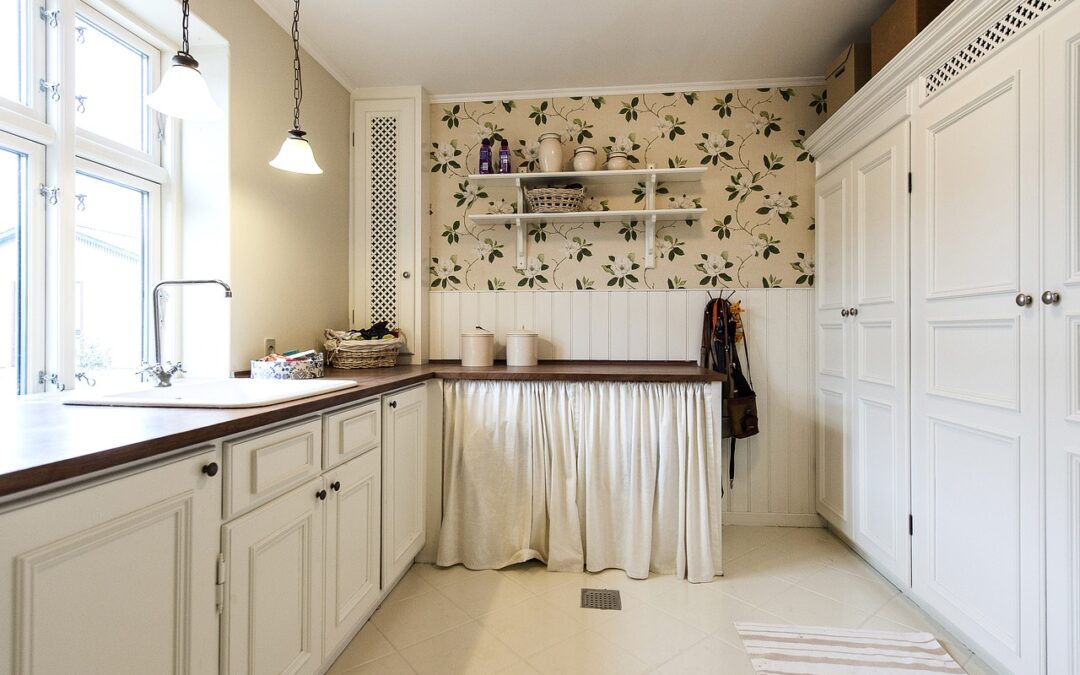
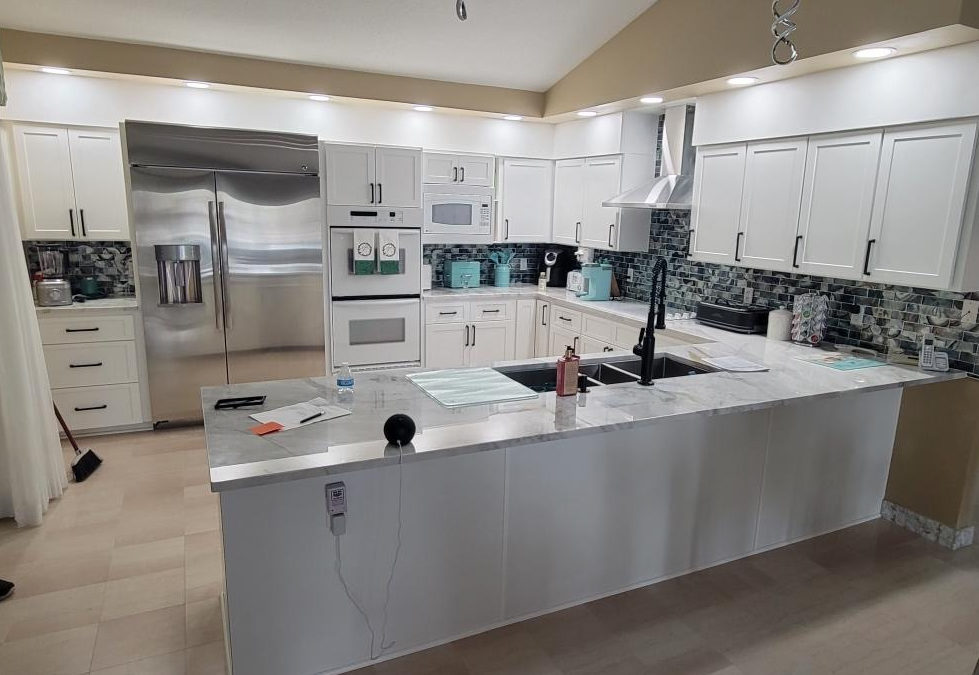
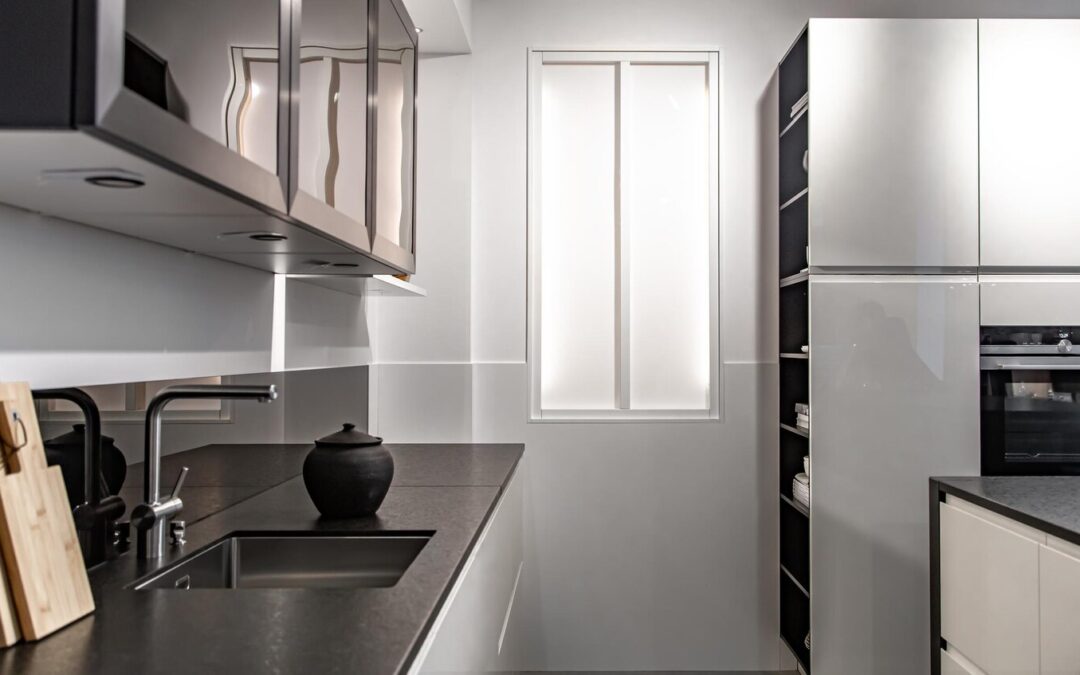
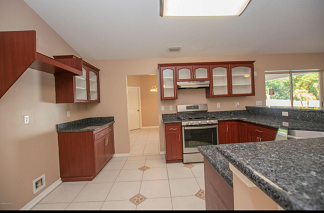
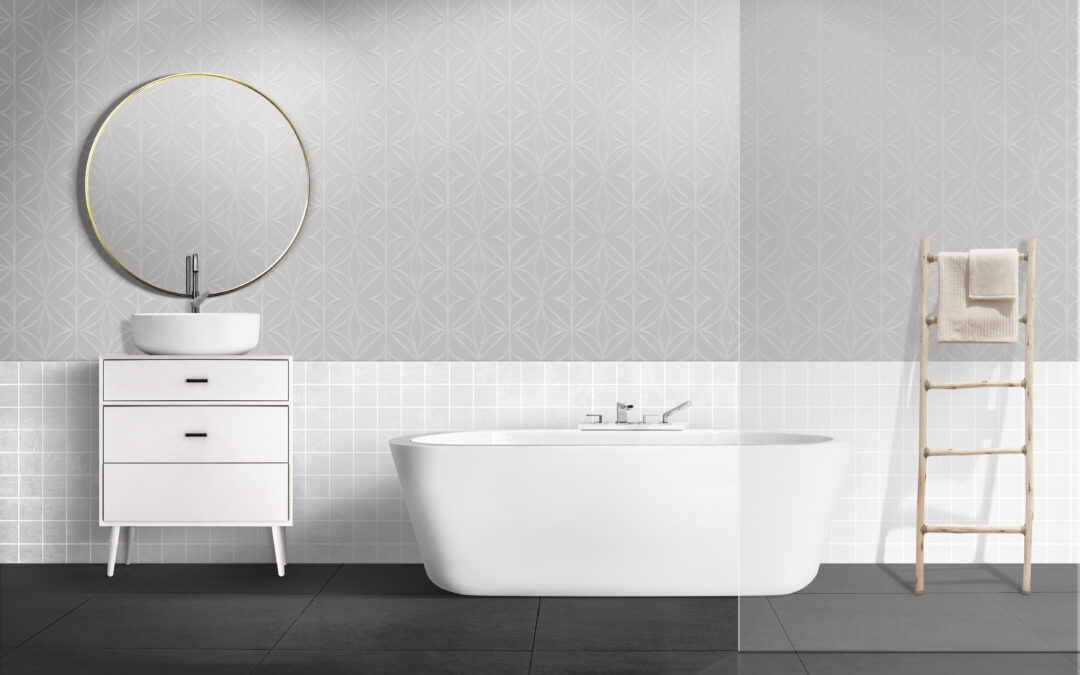
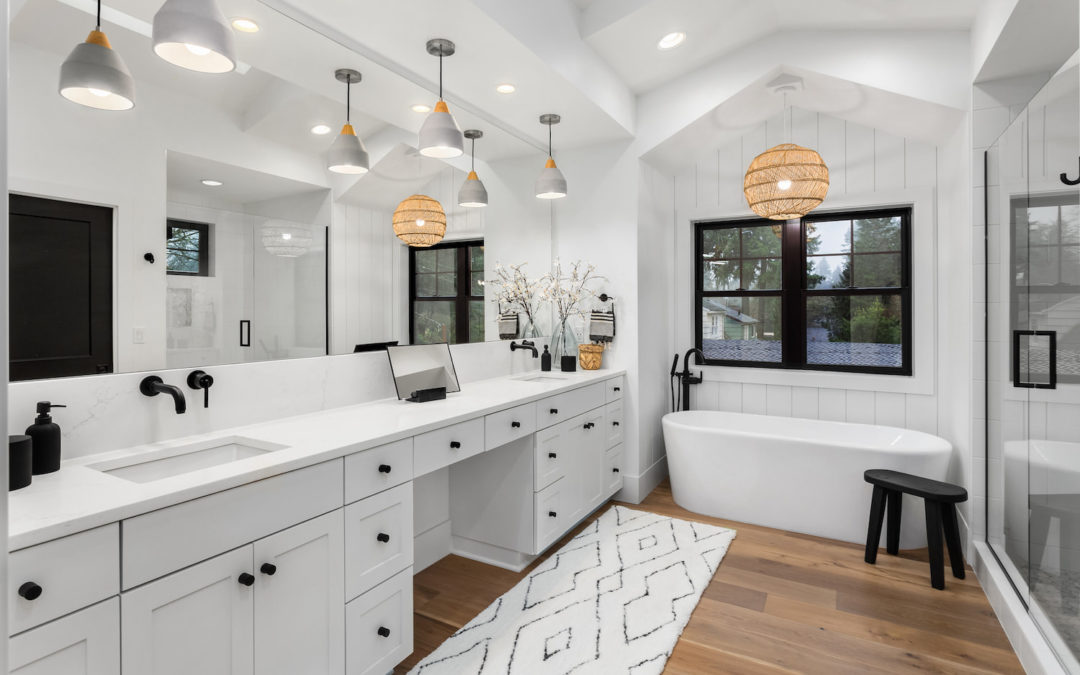
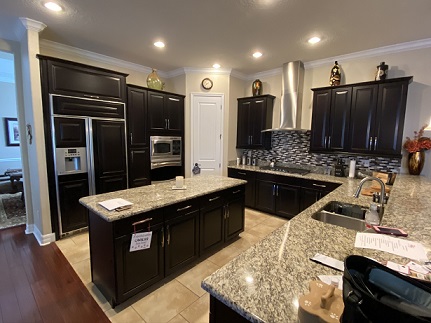
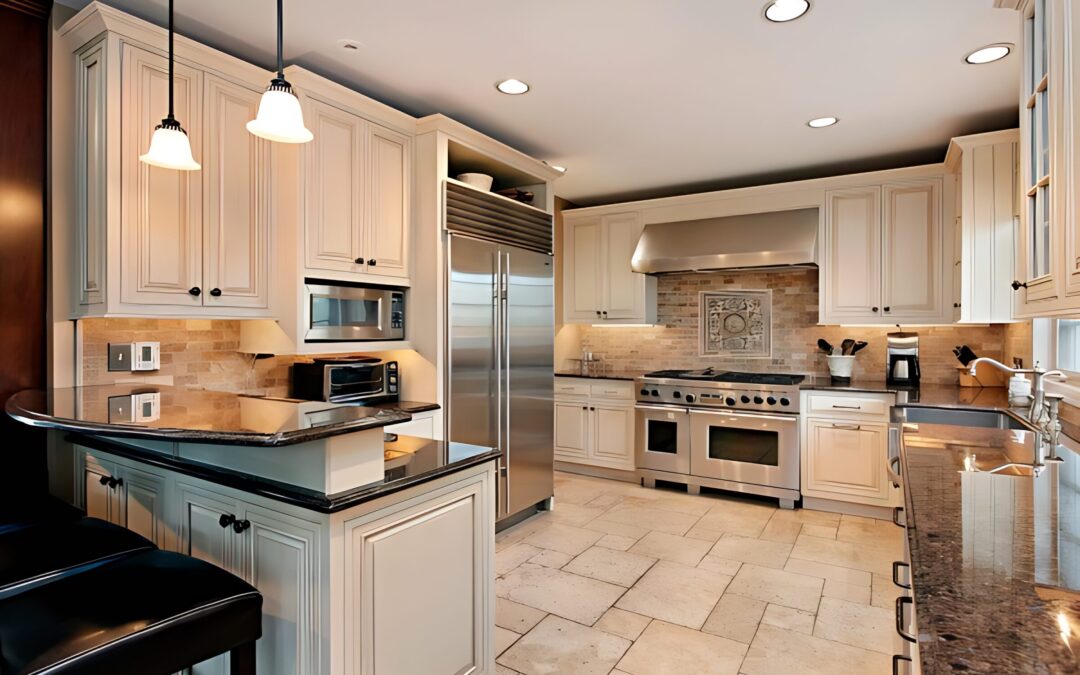
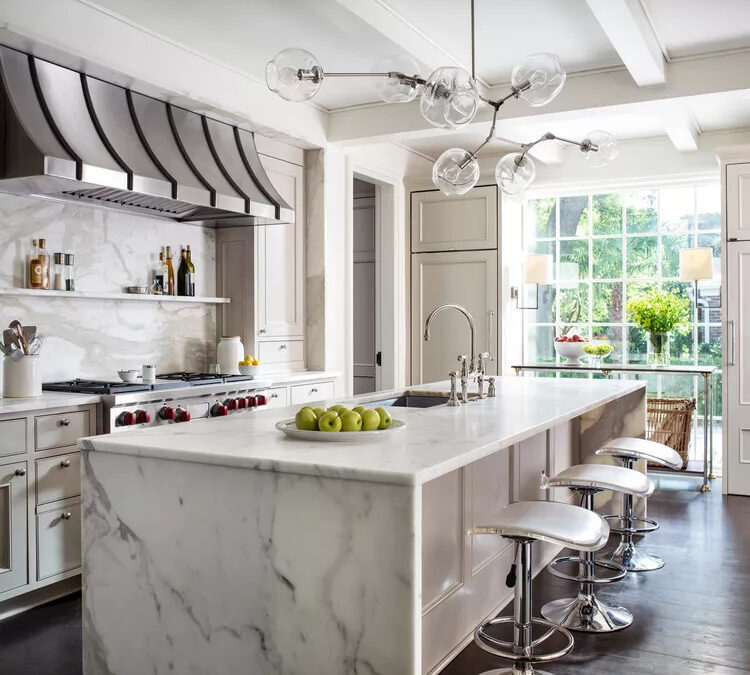
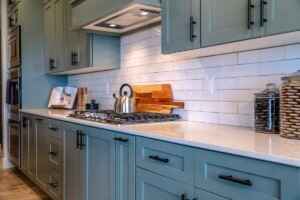
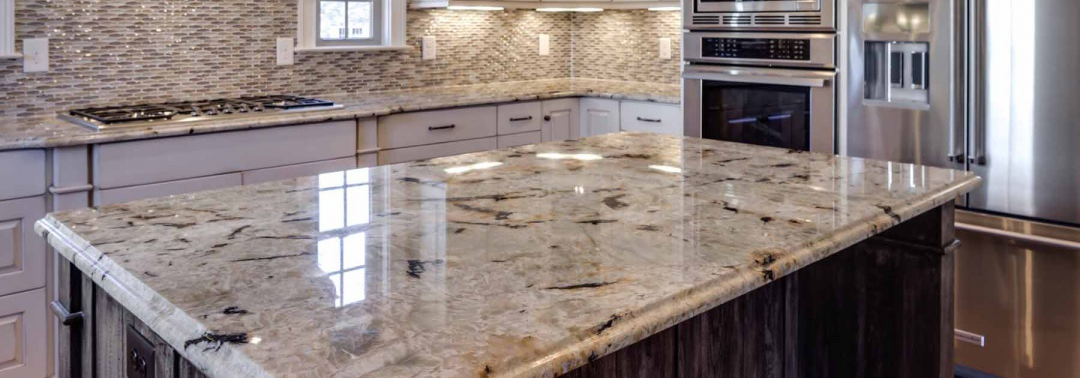
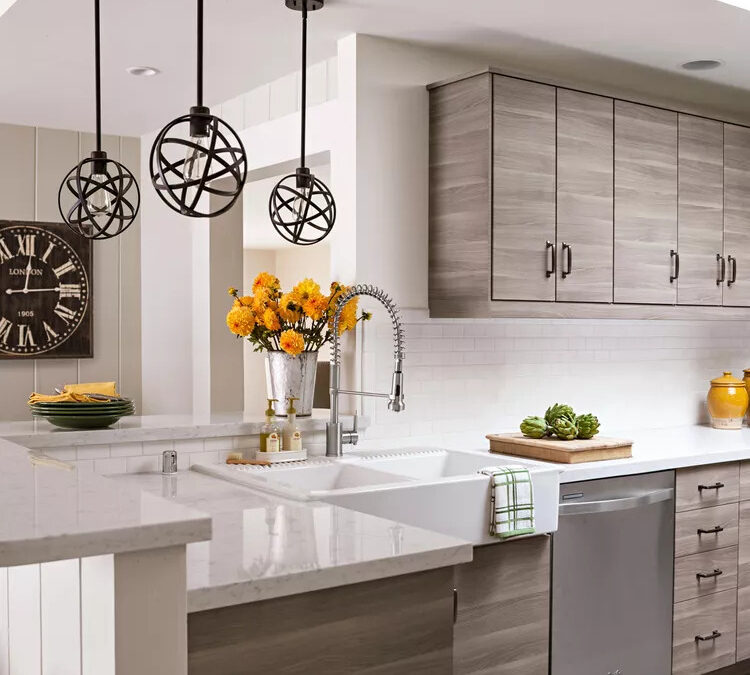
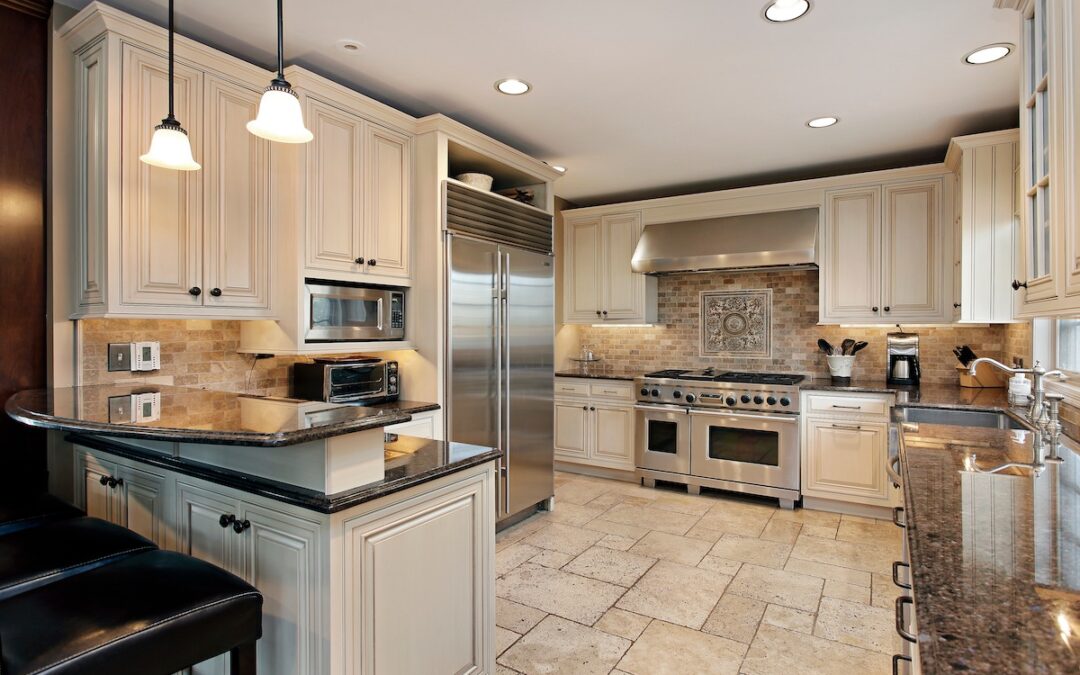
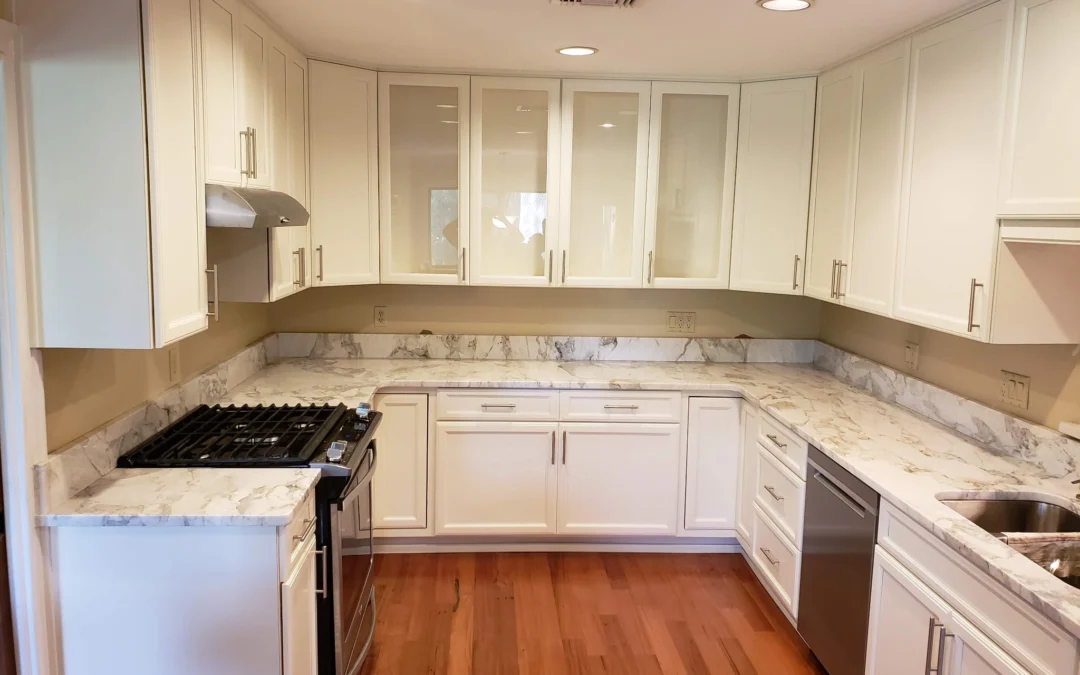
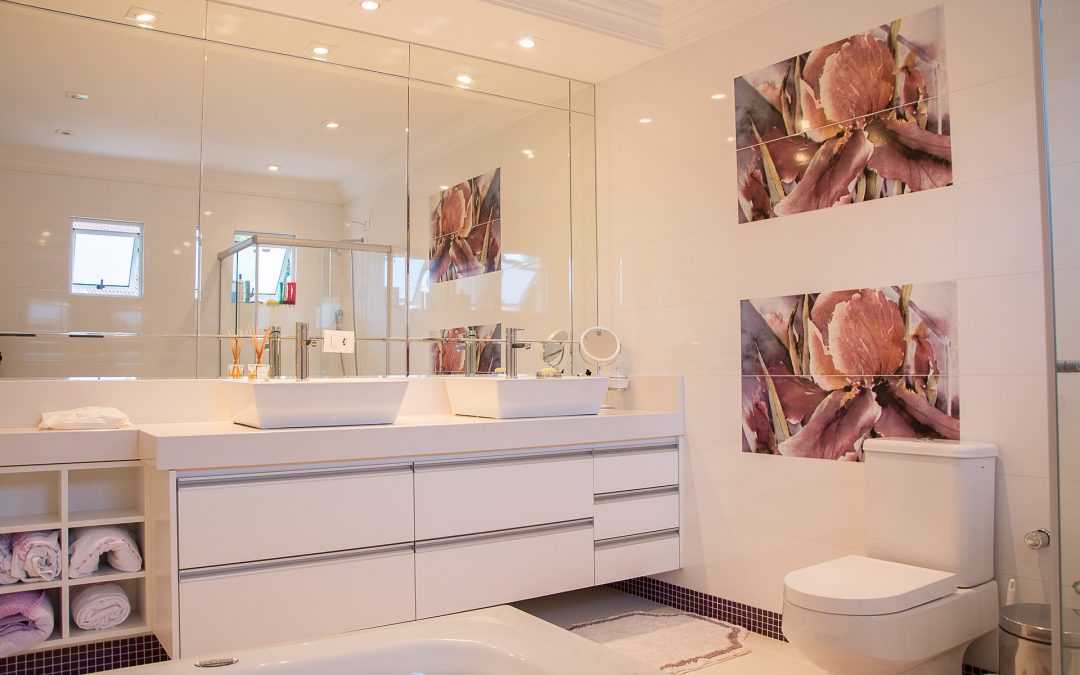
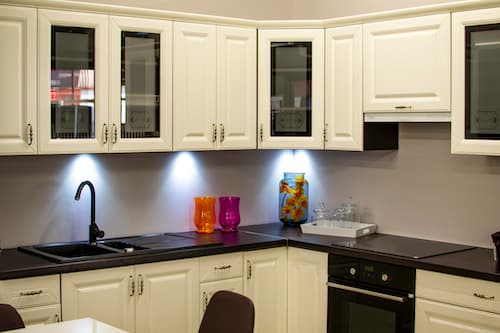
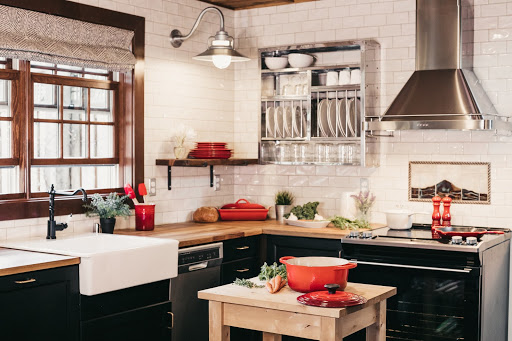
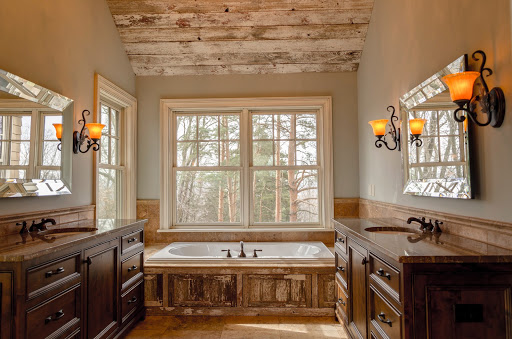
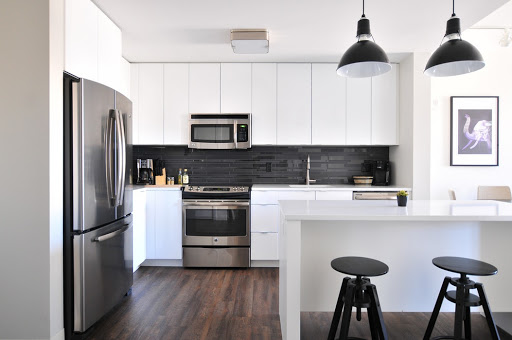
Looking at before and after pictures is a great way to get ideas for your cabinet refacing project. By seeing these transformations, you can imagine how changing styles, colors, and finishes could totally revamp your kitchen’s appearance. Here are some examples that might ignite your creativity:
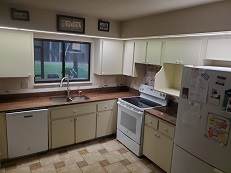
- Before: Cabinets that look tired and old
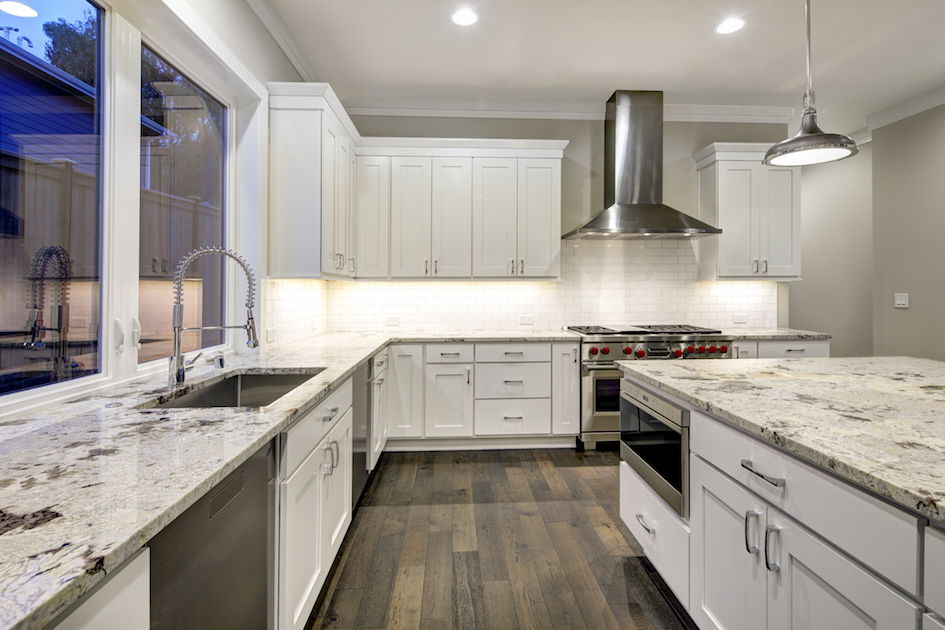
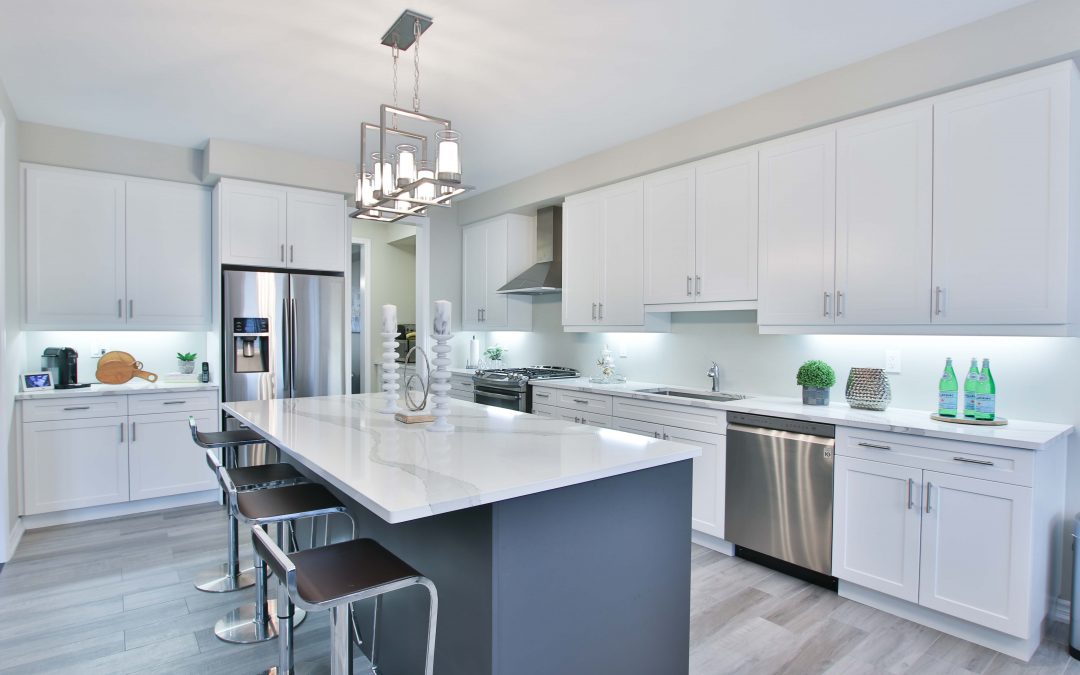
- After: Modern-looking cabinets with new doors and a fresh layer of paint
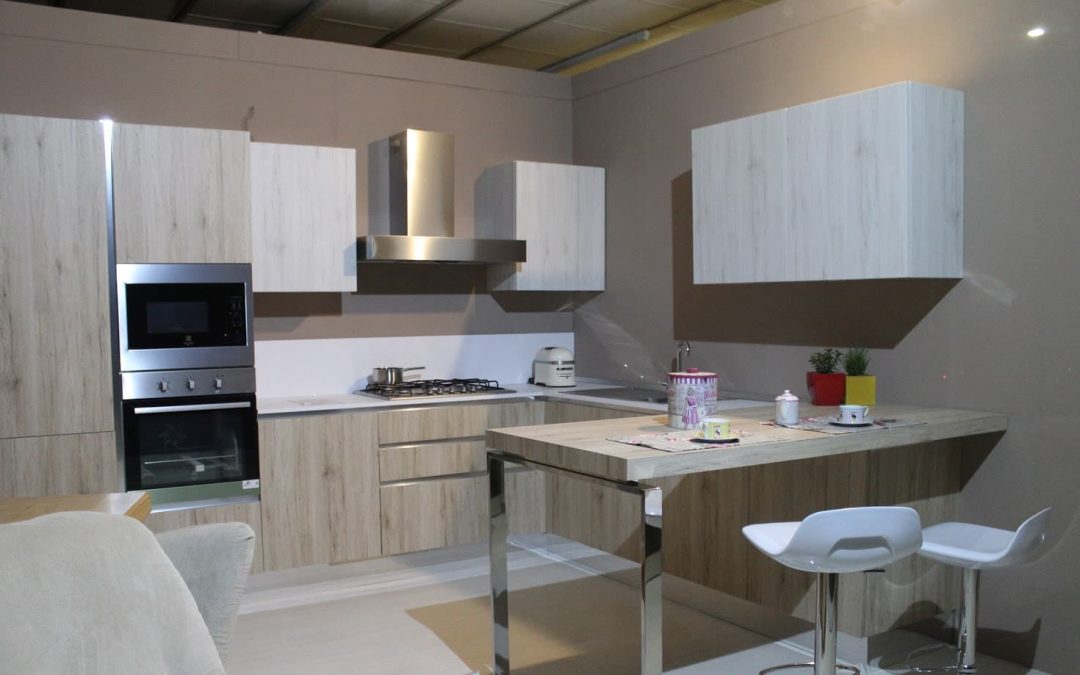
- Before: Cabinets that feel too dark and bulky
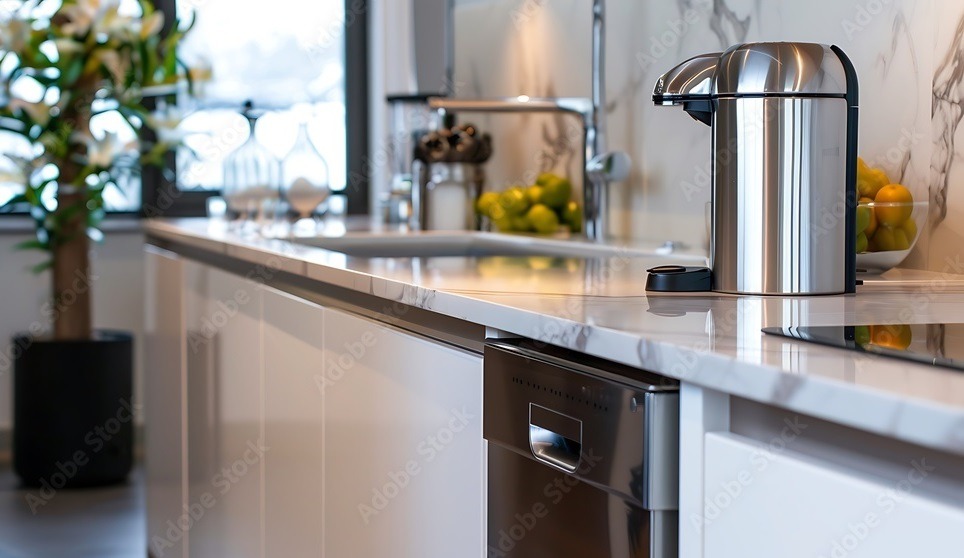
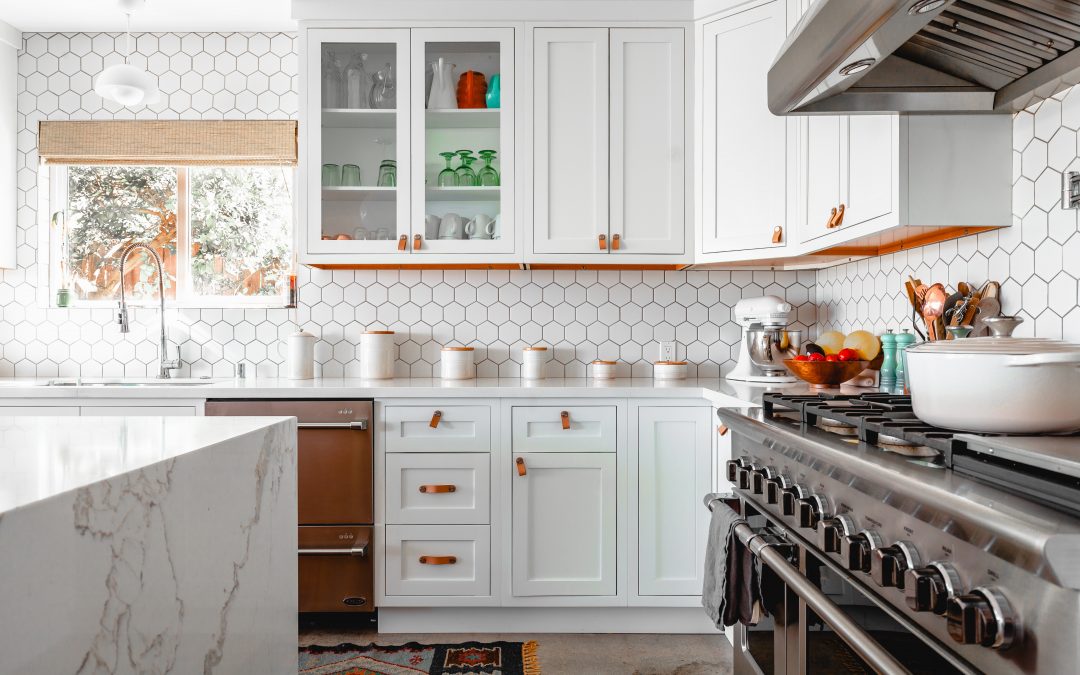
- After: Brighter cabinets with glass doors bringing in lightness along with updated knobs or handles
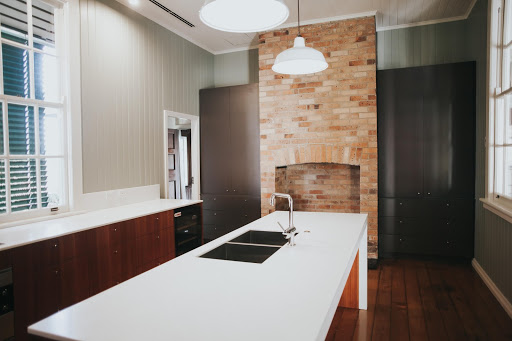
- Before: Simple-looking storage spaces without any flair
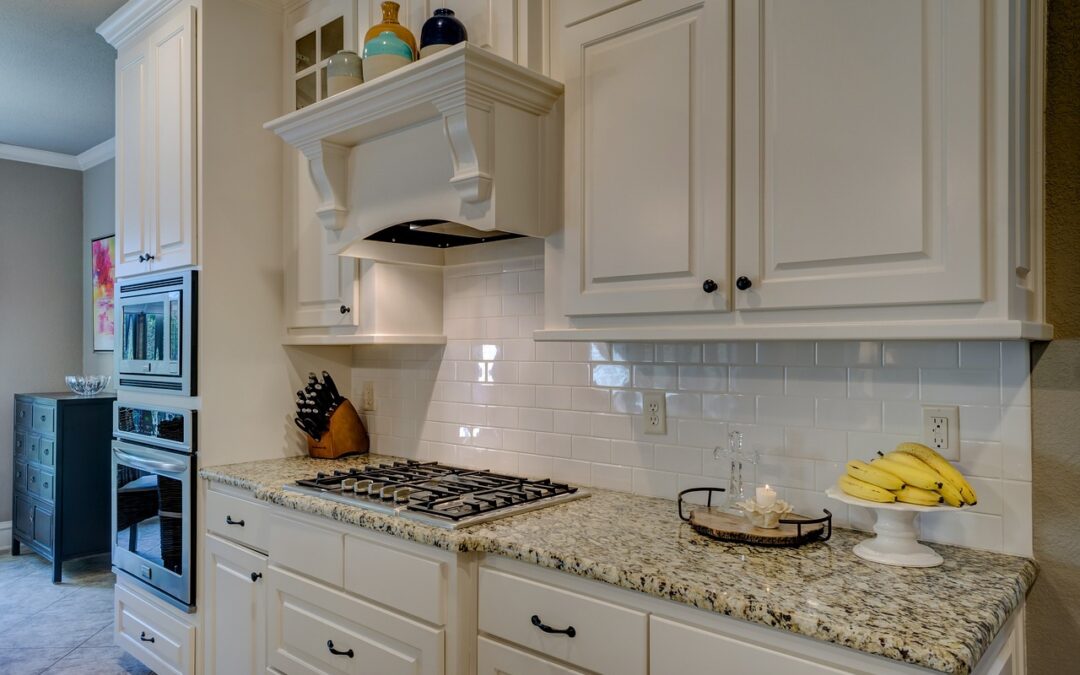
- After: Personalized cabinetry featuring ornamental touches and distinctive finishes
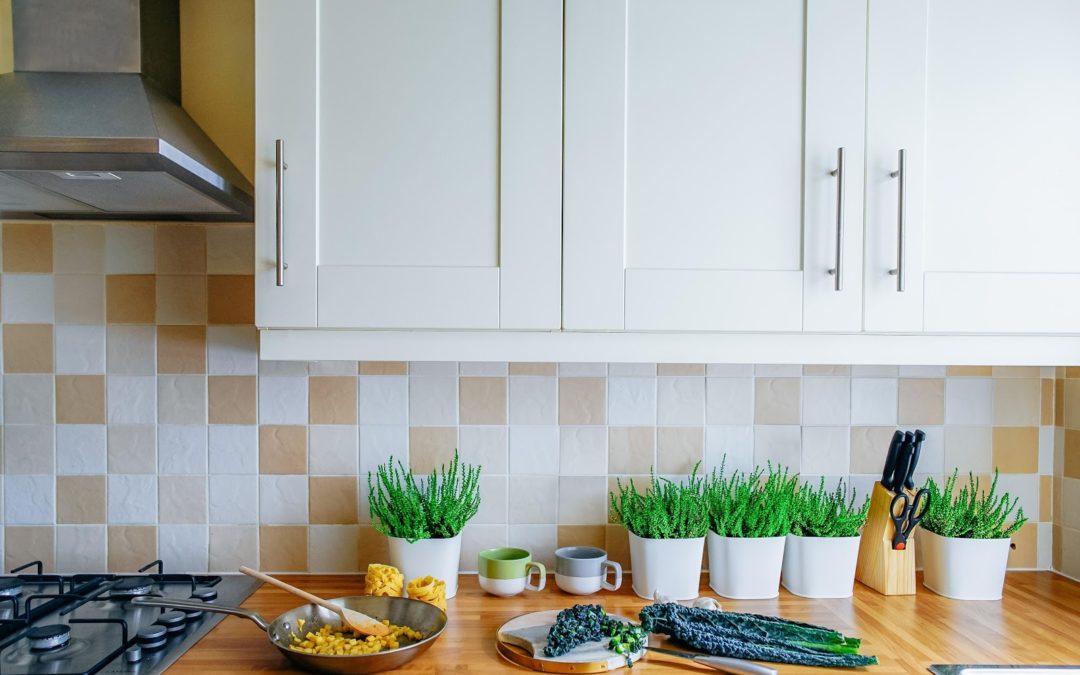
These comparisons show the incredible effect refacing can have on making your kitchen feel brand new again. No matter if you’re leaning towards a modern vibe or something more classic or even somewhere in between, there’s no shortage of design routes to take when it comes to cabinet refacing.
Choosing Materials and Tools for Your Project
When you’re getting ready to give your cabinets a new look with a DIY refacing project, picking the right stuff and tools is key. Here’s what you’ll need:
For the materials:
- You’ll want new cabinet doors and drawer fronts.
- Veneer or paint will help refresh the cabinet frames.
- Wood filler or putty can fix any rough spots.
- Sandpaper gets surfaces ready for painting or staining.
- Choose paint or stain to add color and protection.
- Use painter’s tape to keep paint off where it shouldn’t go.
- Don’t forget hardware like hinges, knobs, and pulls.
And for tools:
- A screwdriver
- Drill
- Paintbrushes and rollers for applying finishes smoothly
- With a sanding sponge or more sandpaper,
- Tape measure helps in getting measurements right,
- Level ensures everything hangs straight,
- Utility knife comes in handy for trimming veneer,
- Clamps hold pieces together while they set.
Having all these essentials means you’re prepared to start your cabinet refacing job confidently. Make sure you have everything before diving into work; this way, there won’t be frustrating pauses looking for missing items.
Step-by-Step Guide to Cabinet Refacing
Now that you’re all set with a solid grasp on what cabinet refacing is, along with having every tool and material you might need, let’s get into the nitty-gritty of how to actually do it. In this part, we’ll walk through each step of your DIY cabinet refacing project in detail, making sure you know exactly what to tackle at every turn.
Preparing Your Cabinets for Refacing
To kick off your cabinet refacing project, the first thing you need to do is get those cabinets ready for a makeover. This means giving them a good clean, smoothing them out with some sanding, and making sure they’re totally free from any dust or bits that shouldn’t be there. Here’s how you can break down this prep work:
- Take off all the doors and fronts of the drawers from your cabinets.
- With either a gentle soap or TSP solution, scrub down the frames of your cabinets as well as those doors and drawer fronts to get rid of any oily spots or dirt.
- Grab a sanding sponge or some sandpaper to go over the surfaces of these cabinet parts; it’s about creating just enough texture so whatever new covering you’re going with sticks better.
- Go over everything one more time with a clean-up to catch any dust particles left behind after sanding.
By taking care in preparing your cabinets like this, you’re setting yourself up for success in getting that smooth look on your newly refaced cabinetry whether using veneer or paint for finishing touches
Removing Old Doors and Hardware

After getting your cabinets ready, it’s time to take off the old doors and all the bits that hold them in place. Here’s what you need to do:
- Start by unscrewing the hinges that connect the doors to the cabinet frames. You can keep these hinges for later or swap them out for new ones if you want.
- Next, gently remove the doors from their hinges and put them somewhere safe. Remember to label each door so you know where they go back, making it easier when you’re putting everything back together.
- Then, take off any other pieces like knobs or handles from the doors and keep those aside too.
Taking away all these parts means you’re setting things up nicely for moving forward with updating your cabinets’ look. Just be careful during this process; try not just focus on speed but also on avoiding damage both to your cabinet frames and those old doors as well.
Sanding and Cleaning Surfaces
Once you’ve taken off the old doors and all the bits that go with them, it’s important to get down to sanding and making sure everything is clean. This part really matters if you want whatever new covering or paint you’re putting on to stick well and look good. Here’s what needs doing:
- Start by using a sanding sponge or some sandpaper to lightly scrub over the cabinet frames, drawer fronts, and where the doors used to be. Doing this makes those areas a bit rougher so they can hold onto new finishes better.
- After that, give everything a good wipe down with some gentle soap or TSP solution along with a fresh cloth. You need to make sure all of that dust from sanding is gone for real.
By taking care of both sanding and cleaning properly, you’re setting up a strong base for your cabinet refacing work whether it involves adding new veneers or slapping on some paint; ensuring your project turns out great in the end.
Applying New Veneers or Paint
After getting your cabinet surfaces ready, we’re moving on to the exciting part: putting on new veneers or paint. This step is what’s going to completely change how your cabinets look and give them that brand-new feel. We’ll dive into two ways you can do this for your cabinet frames, doors, and drawer fronts, including properly priming the cabinet face frame for optimal adhesion.
How to Apply Veneer Correctly
Putting veneer on is a fantastic method to get your cabinet refacing job looking smooth and top-notch. Here’s how you can do it right:
- Start by measuring the cabinets, doors, and drawer fronts for the veneer. Cut it so there’s a little bit hanging off that you can trim off later.
- Next up, spread a thin layer of glue both on the back of the veneer and on your cabinet parts. A roller or special tool will help make sure it sticks well.
- Now carefully lay down the veneer starting with the frames of your cabinets before moving onto doors and drawers. Press firmly to avoid any gaps or wrinkles.
- With either a roller or tool in hand, go over the surface again to push out extra glue and ensure everything’s flat from center to edge for that perfect finish.
- Wait for all this glue business to dry as per what its bottle says then take care of those edges sticking out with something sharp like a utility knife.
By sticking closely these instructions, achieving that professional look complete with seamless wood grain visuals in your refacing project becomes totally doable!
Tips for a Smooth Paint Finish
If you’ve decided to give your cabinet frames, doors, and drawer fronts a new look through painting, it’s crucial to stick to some guidelines for that smooth finish professionals achieve. Here’s how you can get there:
- With painter’s tape, make sure the areas around your cabinets are covered up well. This helps in keeping those lines neat between where the cabinet frames meet walls or countertops.
- Before anything else, put on a light layer of primer with either a brush or roller. It sets up a nice base for your paint.
- After letting the primer dry as recommended by its maker, go ahead and sand everything lightly so it’s all smooth.
- Now comes time for the first coat of paint. Stick with thin layers and be patient; let each one dry before adding another.
- Sanding gently after each coat will knock away any little bumps or imperfections ensuring that super-smooth surface we’re aiming for.
- Keep going with more coats until you’re happy with how it looks.
By sticking closely to these steps during your cabinet refacing project, achieving that professional-looking finish is totally within reach!
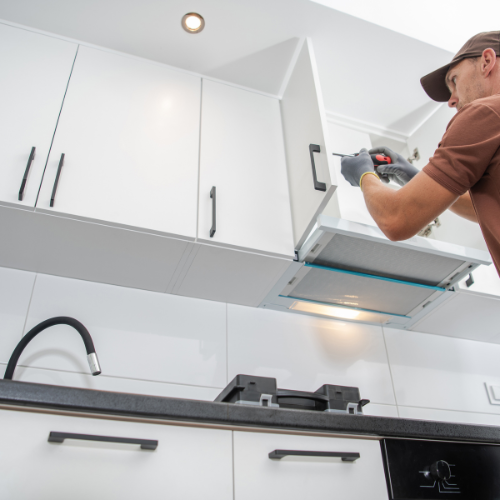
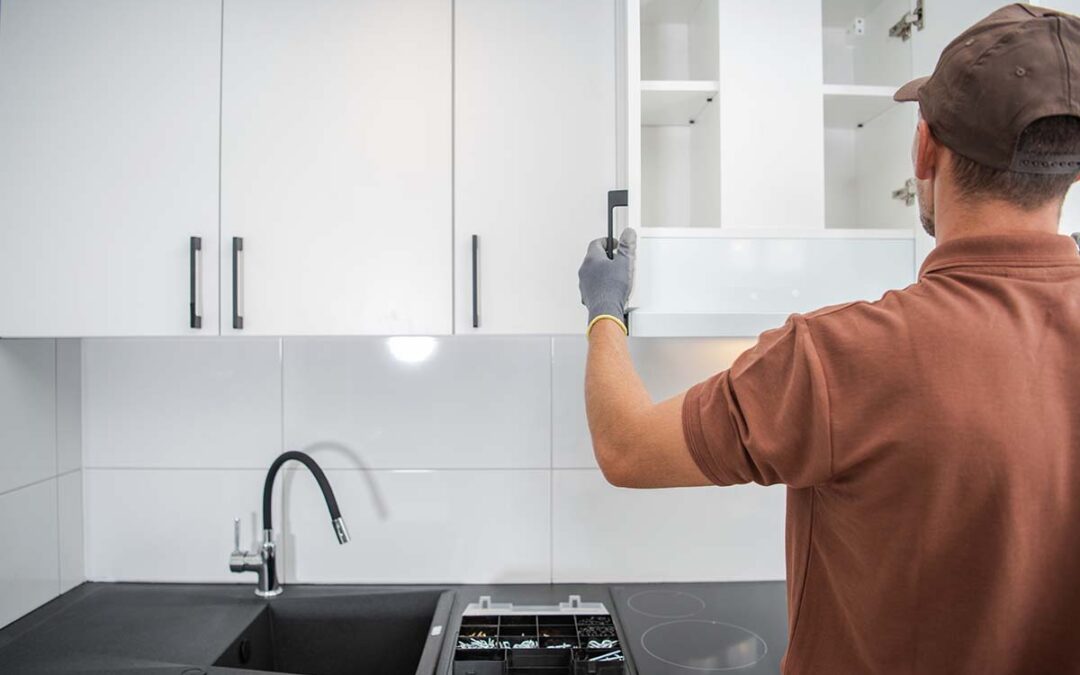
Installing New Cabinet Doors and Hardware

When it comes to giving your kitchen a new look, refacing your cabinets plays a big part. This mainly involves putting in new cabinet doors and hardware. By doing this, you can really change how your kitchen looks and make it feel brand new. The process starts with taking off the old doors and drawer fronts. After that, you measure for the new ones before ordering them. Then comes installing these pieces using hinges along with adding handles or knobs. With Nieu Cabinet Doors’ help, finding just the right style and color to fit what you’re aiming for is easy peasy. Once everything’s set up with the doors and new drawer fronts in place, topping it off with some shiny new hardware will wrap up your kitchen’s makeover perfectly.
Measuring and Ordering Cabinet Doors
Before you get started on putting in new cabinet doors, it’s important to first measure the openings of your current cabinets and make sure you order doors that fit just right. Getting this step right is key for making everything look neat and well put together. Begin with measuring how wide and tall each opening is, remembering to factor in how much space you want the doors to overlap on the face frame. This overlapping part decides how much of the cabinet’s face frame will be covered by the doors. After getting all your measurements down, head over to Nieu Cabinet Doors where you can pick out what style, color, and overlay distance fits best with what you’re looking for. They offer a bunch of different options so finding something that gives your kitchen a custom look that matches your decor should be easy peasy. Just don’t forget to double-check those measurements before placing your order; it’ll save you from any fitting headaches later on!
Installing Hinges and Handles
Once you’ve got your new cabinet doors, it’s time to put on the hinges and handles. First off, take off the old hinges and handles from the cabinet boxes and old cabinet doors. Then grab a drill and fix up those new hinges onto the doors just like how they tell you in the instructions that come with them. It’s important to line up these hinges right so your doors swing open easily without any hitches. After getting those hinges on, go ahead and attach your doors back onto the cabinet boxes. With a straight edge or level in hand, make sure everything is lined up perfectly straight for a neat look. The last step is putting on those shiny new handles or knobs using either a drill or screwdriver; place them where they feel right to use but also look good aesthetically speaking.
With all this new hardware installed correctly, not only will your cabinets have an updated appearance but their functionality will be top-notch too!
Finishing Touches for a Professional Look
To give your cabinet refacing job a professional finish, there are some extra steps you can take. With the help of a straight edge or level, make sure all doors and drawers line up correctly so they’re straight and spaced out evenly. On top of that, tidying up the cabinets and adding a layer of paint or varnish will really make them shine like new. And remember, keeping them clean with regular maintenance is key to making sure your refaced cabinets stay looking great for many years ahead.
Aligning Doors and Drawers
To get that expert look for your cabinet refacing job, making sure the doors and drawers are all lined up right is key. Begin with a check to see if everything’s level and spaced out nicely. With a straight edge or level in hand, tweak as needed. Sometimes, you might need to mess with the drawer slides or hinges to get it all just so. It’s also crucial to spot any gaps or places where things don’t match up between the doors and drawers. If you find any, shims can help sort it out, or adjusting those hinges could do the trick too. Putting in this effort on aligning everything will really make your refacing work shine.
Cleaning Up and Maintenance Tips
After you’ve finished the cabinet refacing, it’s crucial to tidy up any mess and take care of your cabinets to preserve their new look. Begin by getting rid of dust or debris on the cabinets and countertops. With a gentle cloth or sponge paired with a mild cleaner, clean all surfaces carefully. Steer clear of strong chemicals or rough cleaning tools that could harm the finish. By regularly dusting and wiping down your cabinets, they’ll stay looking neat and fresh. Also, make sure not to put anything hot or wet directly on them since this can lead to damage; instead use coasters or trivets for protection. Lastly, think about adding a protective sealant or varnish over the cabinets which will help extend their life and maintain that newly refaced appearance.
Conclusion
Refacing your cabinets is a great way to change up your space without having to redo everything. By getting the hang of how it’s done, from picking out materials to putting on finishes, you’re setting yourself up for a successful DIY project. With a step-by-step guide and some creative ideas, you can get results that look like they were done by pros without spending too much. Whether you decide on new veneers or just want to slap on some paint, the before-and-after pictures will really show off how awesome your cabinets look now. If you pay close attention and keep them looking nice, those refaced cabinets will wow people for years down the line. There’s nothing quite like feeling proud of doing something so cool with your own two hands and making your space truly yours with style and creativity.
Frequently Asked Questions
What are the benefits of refacing cabinets yourself?
Refacing cabinets yourself can save money, offer a sense of accomplishment, and allow for customization to suit your taste and style. It also provides an eco-friendly option by reusing existing materials and reduces waste from replacing whole cabinets.
Can I Reface My Cabinets on a Budget?
Certainly, giving your kitchen cabinets a fresh appearance doesn’t have to break the bank. With cabinet refacing, you’re essentially keeping the existing cabinet boxes in place while swapping out the doors and drawer fronts for new ones. This method not only gives your kitchen a brand-new look but also costs much less than getting completely new cabinets installed. Nieu Cabinet Doors provides plenty of options in both style and color at prices that won’t strain your wallet, making it an excellent option for those watching their spending closely. On top of that, by using gift cards or hunting for materials at home improvement outlets like Home Depot, further savings can be achieved during this makeover process.
Can you do cabinet refacing yourself?
Indeed, refacing your cabinets is a project you can definitely tackle on your own if you have some simple tools and know-how. By getting the proper materials and following instructions carefully, it’s straightforward to take off the old doors and fronts of drawers, apply paint or veneer to the frames of the cabinets, then put in new doors for an updated appearance. This method is an excellent way to refresh your kitchen’s look without having to go through a full renovation.
How to reface cabinets cheaply?
Refacing your kitchen cabinets is a great way to give it a fresh look without spending too much. By keeping the cabinet boxes you already have and just getting new doors and drawer fronts, you don’t have to shell out for completely new cabinets. On top of that, if you head over to places like Home Depot or use gift cards for buying what you need, your wallet will feel even happier with the savings.